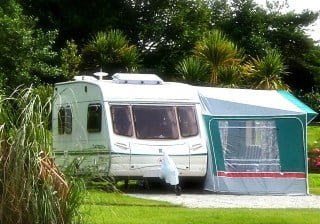
One tent or caravan, two persons, one attached awning and one vehicle is included in the pitch price. We only accept units up to 7.5m in length, with a maximum of 6 persons per pitch.
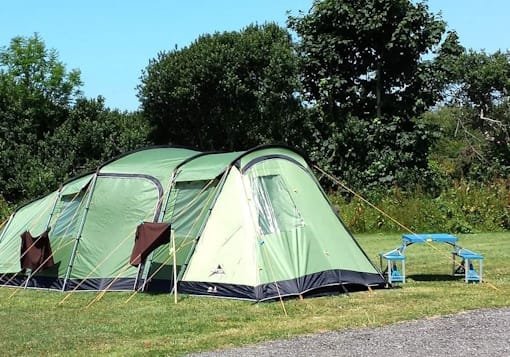
We offer a friendly and relaxing family camping holiday, providing the freedom to enjoy your own style of camping in Cornwall. Our well maintained campsite pitches are both generous and level, most with electric hook-up points (16amp) and views of the Cornish countryside.
We welcome your family pet in your own camping or touring unit, (maximum of three pets per pitch) please click here for dog / pet information.
Camping Holidays Cornwall

Our camping pitch areas: Swift, Pheasant, Jay, Owl and Woodpecker are all within easy reach of our facilities. If you have a pitch preference, we will do our best to accommodate your request.


Choose to Camp at Perran Springs Holiday Park for…
- Large Level Grass Pitches
- Pet Friendly Camping
- Award Winning Amenities
- Recreation Areas and Play Tower System
- Three Private Fishing Lakes
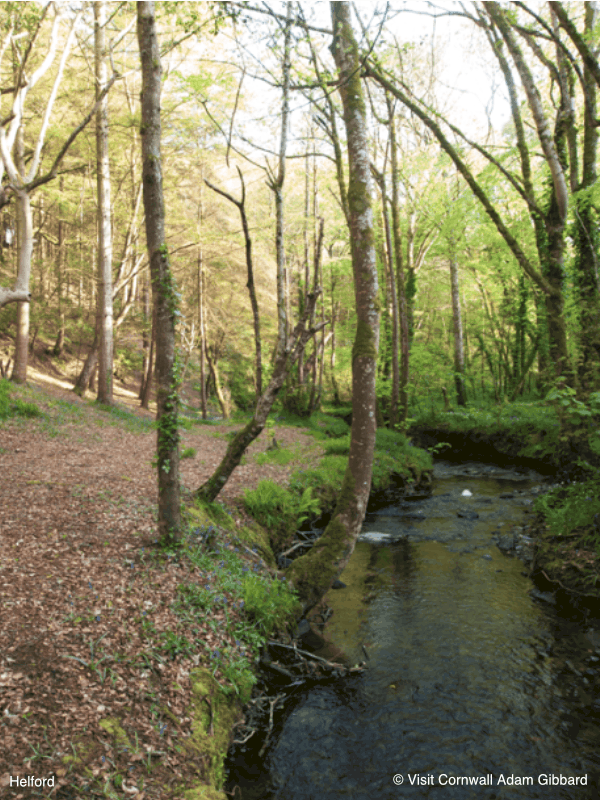
- Nature Trail and Wildlife
Unwind, Explore & Reconnect — Your Ideal Cornwall Camping Holiday Starts Here at Perran Springs
Imagine waking up to the sound of birds. You can brew your morning coffee and take a stroll around our lakes. Then, you can head out to explore golden sandy beaches that are just minutes away.
Welcome to Perran Springs — one of Cornwall’s top-rated camping and touring parks, nestled in a tranquil countryside valley near Perranporth.
Whether you’re a family seeking seaside adventures, a couple looking for peaceful nights under the stars, or a solo traveller chasing Cornwall’s coastline – Perran Springs offers the perfect camping getaway tailored to your style.

Why Choose Perran Springs for Your Cornwall Camping Holiday?
Perfect Location — Heart of Cornwall, Close to the Beach
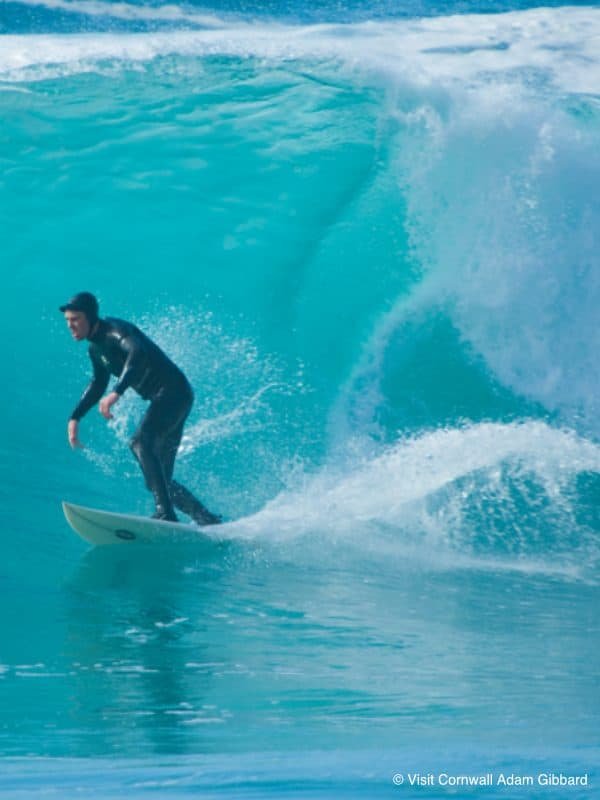
Located just 2.5 miles from the iconic Perranporth Beach, our park is your ideal base to explore Cornwall’s stunning coastline, surf culture, countryside trails, and vibrant seaside towns. Discover Newquay, St Agnes, Padstow, and Truro — all within easy reach.
Spacious, Level Camping Pitches
We pride ourselves on generous, level grass pitches suitable for tents and caravans. We also offer hardstanding pitches for campervans, motorhomes, and twin-axle caravans. Choose electric hook-ups or non-electric options depending on how off-grid you want to go. Our peaceful park never feels overcrowded — just fresh air, open skies, and space to breathe.
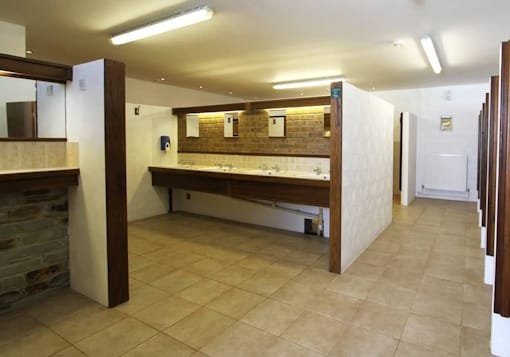
Spotless Facilities for Ultimate Comfort
Enjoy free hot showers, an immaculate toilet and shower block and a baby changing room. Our modern amenities ensure you’re camping in comfort — whether you stay three nights or a fortnight.
Three Beautiful Coarse Fishing Lakes — Free for Guests
Anglers of all levels love our three spring-fed lakes, home to carp, tench, bream, roach, and rudd. Whether you’re casting your first line or your hundredth, our lakes offer peaceful fishing just a short walk from your pitch — and there’s no extra cost for guests to fish.
Onsite Tackle Shop
Forget some fishing equipment? We stock bait and tackle. You’ll also find tourist information to help plan your Cornwall adventures.
Family-Friendly & Dog-Loving
Kids can enjoy the adventure play tower, wide-open recreation fields, and safe cycling spaces. Dogs are welcome too — with plenty of local walking trails to enjoy with your four-legged friend.


Glamping — Camping with a Touch of Luxury
Want to experience the joy of camping without bringing your own tent?
Looking for extra comfort? Try our log pods, offering a cosy, glamping experience with — perfect for couples or solo travellers.
Try our family pods, offering a spacious, glamping experience — perfect for families
2025 Season Dates: 12 July – 30 August
We’re open for peak summer camping from Saturday 12 July to Saturday 30 August 2025. We recommend early booking to secure your preferred pitch — especially if you plan to visit during the school holidays.
Minimum stay: 2 nights
Arrival & Departure: Flexible booking dates available (subject to pitch type)
Ready to Book Your Cornwall Camping Escape?
Whether you’re after a traditional tent holiday, a glamping pod, or a fully equipped holiday home, Perran Springs offers one of the most relaxing, family-friendly camping holidays in Cornwall. With outstanding facilities, serene surroundings, and easy access to Cornwall’s must-see spots, your perfect summer adventure awaits.
Book now to avoid disappointment — spaces fill fast during peak season!
Visit our booking page or call us directly on 01872 540568 to speak with our friendly team.
Perran Springs Holiday Park – Camping, Touring, and Glamping in the Heart of Cornwall
Where countryside calm meets coastal charm.
HOLIDAY PARK MAP
Download Info
PITCH AREA DETAILS
Download Info

Comments from our guests
Little Gem Of A Site
Just returned home after an 8 night stay at Perran Springs. Returning here after many years I wasn’t disappointed. The pitch allocated was enormous. Tents aren’t crammed in as on some other sites we have visited. The toilet and shower block is immaculate all of the time. Lovely hot showers and a hairdryer ( 20p a time which is ample). There is also a a baby changing room, a separate space on site for wet suit/ board washing, plenty of washing up areas across the park with hot water all of the time.
The park also boasts a lovely play area which the children made good use of, a recreation field with goal posts for ball games, frisbee etc. There are no ball games allowed around the pitches which is absolutely fair enough and the play field provides a more than adequate area to run around.
The fishing lakes are stunning and so well maintained. We don’t fish but saw plenty of others relaxing round the lakes. If fishing isn’t for you I would still highly recommend a stroll around the lakes which are home to an abundance of wildlife. Early morning or evening is just magical.
Just a few miles out of Perranporth and a perfect location just off the A30 Perran Springs is the ideal site for exploring Cornwall..we will most definitely be coming back soon!! We can’t recommend it highly enough!!
Lovely Campsite
Just come back from a week on this lovely quiet campsite!!The pitch was fab,everything was close by!!shower blocks were so clean,lovely hot water!!The owners were lovely,friendly & helpful!!ideally located 3 miles from perranporth!!Me & my husband had a great time,we were so lucky with weather!!!We will be back next year!!Thankyou for having us.
Central Location In Cornwall
Perran Springs Holiday Park is ideally positioned to explore all of Cornwall. With Perranporth beach only 2.5 miles away.


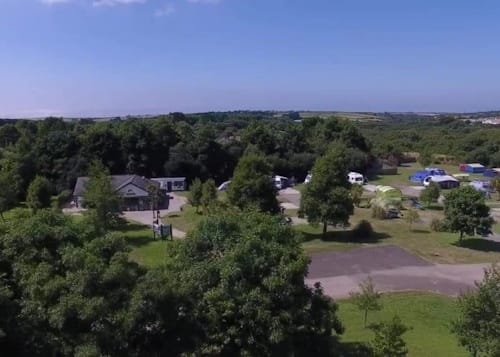
An Aerial View Of Perran Springs Campsite
Accommodation Options
Camping

Euro Tents

Touring
Holiday Homes

Motor Homes

Glamping Pods
