Ridge Tents Guide
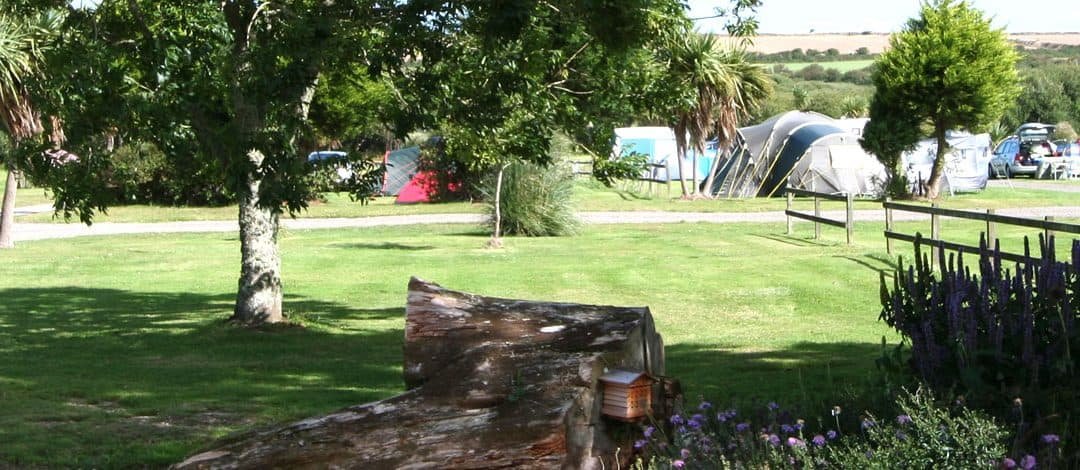
When most people think of camping tents, the image that immediately springs to mind is of a triangular opening with sloping roofs on either side. That is actually a specific type of tent known as the basic ridge tent and it is characterized by its distinctive triangular shape as well as the ridge that runs across its spine.
 Normally ridge tents consist of three poles – two poles on either end with the ridge pole attached so that it runs between them overhead. That being said there are many variations of ridge tents nowadays – some of which may have more complicated designs or larger sizes, and require more poles to support them.
Although the design of ridge tents is dated, they are still often used due to how sturdy they can be – particularly when lashed down with multiple ropes. That makes them an excellent choice when camping in inclement weather conditions, where wind or rain may prove to be an issue.
The main downside of ridge tents is the fact that they tend to be cramped. Although the tents themselves come in various sizes, their triangular shape and slanted walls mean that there isn’t much room to stand up. That is why ridge tents are typically favored by those who only intend to use them for sleeping and storage.
Compared to other modern tents, ridge tents can also be rather heavy to carry around. While some are made of lighter materials, the average ridge tent is still a lot heavier than many other types of tents because it uses solid poles and heavier tent material.
How to Pitch a Basic Ridge Tent
Pitching a ridge tent can vary in difficulty, depending on the size and design of the tent itself. On the whole it is more difficult than most other modern types of tents, and requires experience. In some cases it may even require a basic knowledge of knots to lash the poles together or stake them down.
Generally the steps that need to be followed to pitch a basic ridge tent are:
1. Lay out the tent
Start by laying out the tent flat on the site you intend to pitch it on. Make sure it is facing the right way up and is completely spread out.
2. Put the ridge pole in place
Take the ridge pole and place it underneath the tent in the center. In some designs there may be a specific slot or flap for the pole to fit in, and if so it should be inserted into it.
3. Position the upright poles and connect them to the ridge pole
Take the upright poles and position them at right angles to the ridge pole on either end (both should face the same direction). Make sure that the height of the upright pole (from one end to where it connects to the ridge pole) corresponds to the height of the tent, and that both upright poles have some clearance from the entrance. Once positioned, the upright poles should be connected to the ridge pole by lashing them to it with rope. Some tents may use other methods of connecting the upright poles to the ridge poles, such as a slot or connector joint that they can be inserted in.
4. Peg down the tent loosely
Most basic ridge tents require at least one peg for each of the four corners, as well as one or two pegs connected to each upright post – though some may require additional pegs along the tent sides. For older ridge tents these pegs may have to be attached to the tent manually with rope, but some newer designs may come with slots for the pegs. In any case, make sure the pegs are connected and staked in loosely so that there should be room for adjustment (possibly using a rolling hitch knot). Tent pegs should be on a 45 degree angle.
5. Raise the tent
The basic technique in raising a ridge tent is to lift the ridge pole straight up so that the upright poles drop down vertically as you do so. It may require some practice to get right, and it helps to have at least two people (one on either end) raising the tent. If done right, the tent should take shape as you raise it.
6. Tighten the pegs
Once raised the only thing left to do is to tighten the pegs. If they were connected with a rolling hitch it should be easy, but if not you may need to re-stake some of the pegs so that they are taut. Keep in mind that until the upright poles are firmly staked down they may fall, and as such will require support.
As you can see while some designs of basic ridge tents can make it a bit easier to pitch them, it still requires a bit of know how. By following these steps you should be on the right track, and raise your tent after a little bit of trial and error – at most.